How to Add Text in AlightMotion – A Simple Guide for Beginners
Create titles, captions, and animated text that look professional on mobile
Want your videos to look clean, modern, and scroll‑stopping? Adding text in AlightMotion is one of the fastest ways to level up. This beginner‑friendly guide shows how to add, style, and animate text — with tips to keep everything crisp on mobile screens.
What Is AlightMotion?
AlightMotion is a powerful mobile editor for motion graphics, titles, and effects — like having a mini studio in your pocket. You can design animated text, apply looks, and export for TikTok, Reels, and YouTube. Learn more on the official site.
Why Add Text to Your Videos?
- Accessibility: captions help viewers who can’t play audio.
- Professional polish: titles and lower‑thirds elevate your edit.
- Attention‑grabbing: motion titles stop the scroll.
- Social‑ready: bold, readable text performs better on mobile feeds.
Step‑by‑Step: How to Add Text
- Open your project: New Project → import a clip via the + button.
- Tap Text: choose the T icon and select Add Text.
- Type your message: titles, captions, or callouts — you can edit later.
- Position and resize: drag to place; pinch to scale.
New to presets? Speed up design with our Preset Guide and learn sharing workflows in the QR Codes guide.
How to Style Your Text Like a Pro
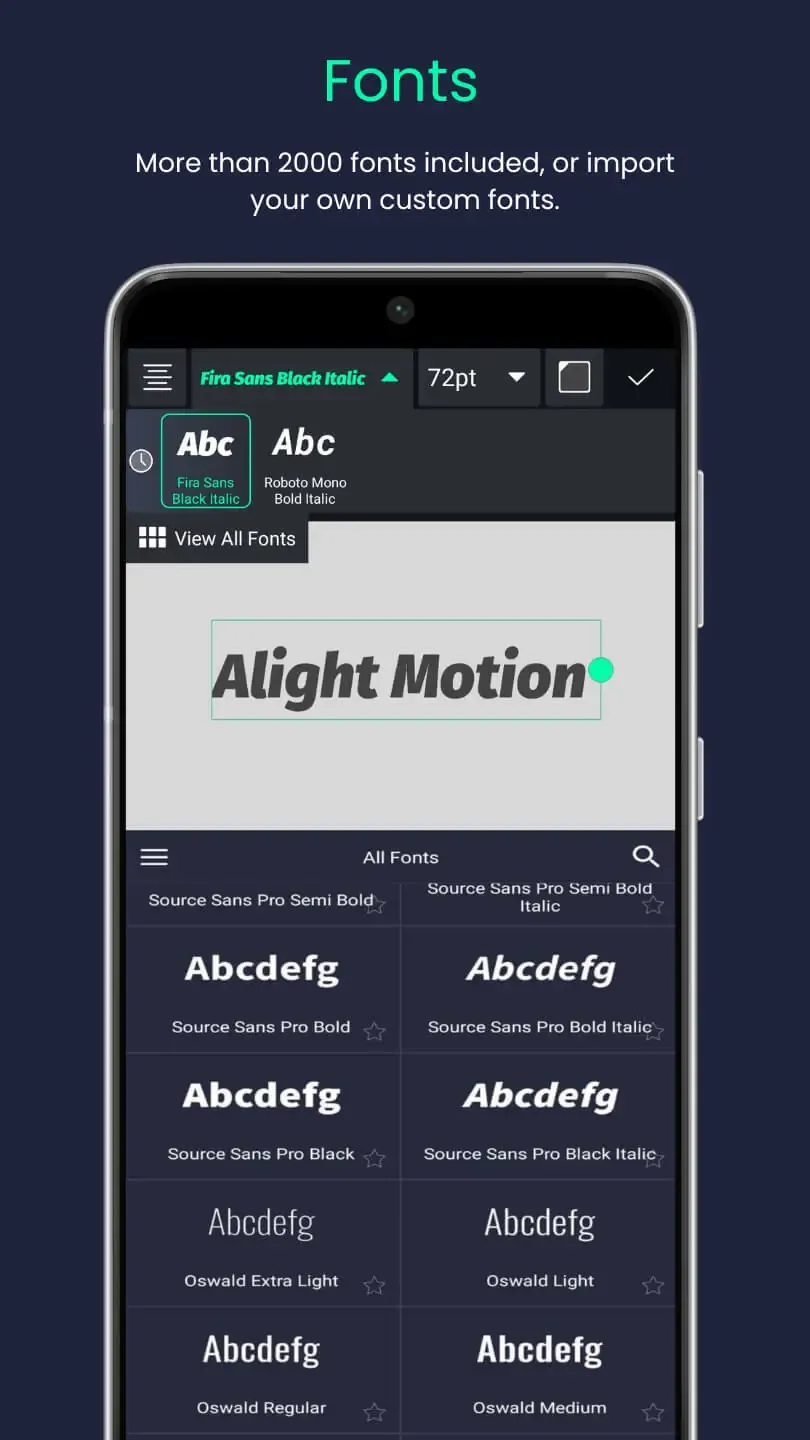
1) Choose a clean, on‑brand font
- Pick from built‑in fonts or install customs (DaFont, FontSpace).
- Use one bold display font for titles and a simple font for body/captions.
2) Color for readability
- White text + black stroke is highly legible on busy footage.
- Ensure strong contrast; avoid red on blue or yellow on white.
3) Size, spacing, alignment
- Make titles large; keep captions compact.
- Adjust tracking (letter spacing) and line height for clean blocks.
- Center alignment works best for headlines.
4) Effects for clarity
- Stroke and shadow add separation from the background.
- Use a subtle background box behind small text when footage is bright.
Make Your Text Move — Simple Animation
- Open Animation: select the text layer → enable keyframes.
- Fade‑in: at 0s set Opacity to 0%; at 1s set to 100%.
- Slide/Grow/Spin: animate Position, Scale, or Rotation between two keyframes.
- Timing curves: use ease‑in/out for natural motion.
Add extra mood with Glow or Blur under Effects. For more animation ideas, see 10 Pro Tips.
Top Tips for Great‑Looking Text
- High contrast is king; check legibility on phone screens.
- Keep it short: 3–6 words per screen reads best.
- Limit to two fonts to avoid visual clutter.
- Preview on device before exporting; adjust size if needed.
- Save as preset: long‑press the styled layer → Save as Preset for reuse.
Build a re‑usable title toolkit
Download the latest build, create text styles, and save them as presets. Learn sharing via our Presets & QR Codes Guide.
Frequently Asked Questions (FAQ)
Match project resolution to your platform (e.g., 1080×1920 for Reels/Shorts), avoid over‑scaling small text, and export at high quality.
Drag the text layer along the timeline to the start time you want, then animate opacity/position for entrances.
Yes — use the Path feature for arcs or circles. It’s great for logos and stylish intros.
Keep learning: 10 Pro Tips for AlightMotion • Import XML Projects • Use Presets. Official app info: alightmotion.com.