10 Pro Tips for AlightMotion Premium - Complete Guide to Mobile Video Editing & Animation
Master mobile video editing with these essential pro tips for keyframes, color grading, blending modes, motion blur, and export optimization
- What Is AlightMotion Premium?
- Why Edit on Phone?
- Tip 1: Master Keyframes
- Tip 2: Build Effects Stacks
- Tip 3: Organize with Layers
- Tip 4: Color Grade Like a Pro
- Tip 5: Use Vector Graphics
- Tip 6: Add Motion Blur
- Tip 7: Optimize Export Settings
- Tip 8: Work with Blending Modes
- Tip 9: Leverage Presets
- Tip 10: Practice Every Day
- FAQs
AlightMotion Premium turns your phone into a mini movie studio. Use these 10 practical tips to add text, animate like a pro, color grade, and export sharp videos for TikTok, Reels, and YouTube. No complicated jargon — just fun, clear steps.
Whether you're a beginner looking to create your first animated video or an experienced creator wanting to optimize your workflow, these AlightMotion pro tips will help you master mobile video editing and animation. From mastering keyframes to optimizing export settings, each tip builds upon the previous one to create a comprehensive learning experience.
What Is AlightMotion Premium?
It's a powerful app for animation, motion graphics, and video editing right on your phone — with no watermark and advanced exports in the premium build. The premium version unlocks all features including unlimited layers, advanced effects, and high-quality exports without restrictions.
AlightMotion Premium transforms your mobile device into a professional video editing studio, offering desktop-grade capabilities in a mobile-friendly interface. Whether you're creating social media content, educational videos, or creative animations, the premium features provide the tools you need to produce professional-quality results.
Official app info: alightmotion.com.
Why Use AlightMotion on Your Phone?
- Cross-Platform Compatibility: Works on Android & iOS; easy to learn for beginners.
- Offline Editing: No internet needed after install; edit anywhere, anytime.
- Perfect for Content Creation: Great for TikTok/Reels, school projects, and YouTube intros.
- Professional Results: Create desktop-quality videos with mobile convenience.
- Cost-Effective: Premium features without expensive desktop software subscriptions.
Mobile video editing with AlightMotion Premium offers unprecedented flexibility and accessibility. You can capture footage on your phone and immediately begin editing, making it perfect for content creators who need to work quickly and efficiently. The mobile-first design ensures that all features are optimized for touch interfaces, making complex editing tasks intuitive and enjoyable.
Tip 1: Master Keyframes — Make Things Move Smoothly
Keyframes tell layers where to be at different times. Animate position, scale, rotation, and opacity between two keyframes for smooth motion. Add curves for natural ease‑in/out.
Pro Tip: Start with just two keyframes - beginning and end. Then add intermediate keyframes only where you need them. This creates more natural, less mechanical animations.
Keyframe animation is the foundation of all motion graphics. By understanding how to place keyframes strategically and adjust easing curves, you can create animations that feel natural and engaging. Practice with simple movements first, then gradually add complexity as you become more comfortable with the system.
Tip 2: Build Effects Stacks — Mix Effects Like LEGO
Combine Glow + Shadow + Color for pro looks. Save your stack as a preset to reuse. Learn presets here: How to Use Presets.
Pro Tip: Layer effects in the correct order - start with basic adjustments (color, contrast), then add creative effects (glow, shadow), and finish with finishing touches (grain, vignette).
Effects stacks allow you to build complex visual treatments by combining multiple simple effects. This approach gives you more control and flexibility than using pre-made presets, and allows you to create unique looks that match your specific project needs.
Tip 3: Organize with Layers — Keep Projects Tidy
- Descriptive Naming: Rename layers (e.g., "Main Title", "Logo", "Background Music").
- Logical Grouping: Group related items and color‑code important tracks.
- Layer Hierarchy: Arrange layers in logical order - background at bottom, main content in middle, overlays at top.
- Color Coding: Use consistent colors for different types of content (text, graphics, audio, effects).
Pro Tip: Use prefixes like "BG_" for background elements, "TXT_" for text, and "FX_" for effects. This makes it easy to find specific elements when your project grows complex.
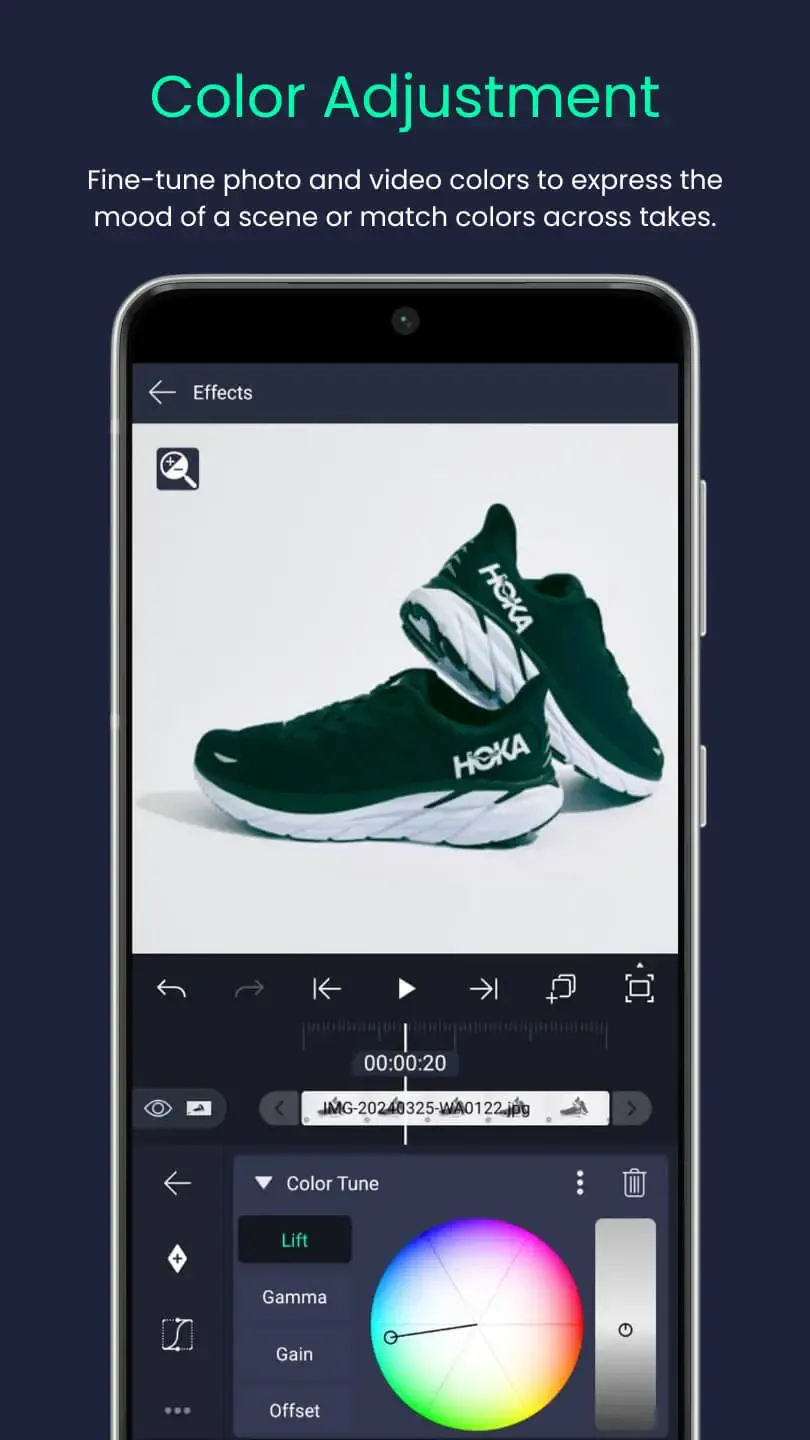
Tip 4: Color Grade Like a Pro — Set the Mood
- Contrast Control: Use Curves for contrast; HSL to fine‑tune colors.
- Skin Tone Preservation: Compare before/after frequently; keep skin tones natural.
- Color Harmony: Use complementary colors and maintain consistent color temperature.
- Mood Setting: Warm tones for happy content, cool tones for serious or dramatic content.
Pro Tip: Always color grade on a calibrated display or in good lighting conditions. Subtle color adjustments can make a huge difference in how professional your video looks.
Tip 5: Use Vector Graphics — No Blurry Logos
Vectors (SVG/shapes) scale without losing quality — perfect for logos, icons, and text‑based animations.
Pro Tip: Convert your logos and icons to SVG format before importing. This ensures they remain crisp at any size and can be easily animated without quality loss.
Vector graphics are essential for professional video projects because they maintain their quality regardless of how much you scale or transform them. This is particularly important for branding elements and text that need to remain clear and readable throughout your video.
Tip 6: Add Motion Blur — Make Movement Feel Real
Enable motion blur on fast moves for a more realistic look. Use lightly; too much looks smeary.
Pro Tip: Motion blur works best with fast movements (above 30fps). For slower movements, reduce the blur intensity to maintain clarity while still adding realism.
Motion blur simulates the natural blur that occurs when objects move quickly, making your animations feel more cinematic and less artificial. It's particularly effective for action sequences, transitions, and any content where movement is a key element.
Tip 7: Optimize Export Settings — Share Without Quality Loss
| Platform | Resolution | Bitrate | Format | Notes |
|---|---|---|---|---|
| Reels / TikTok | 1080×1920 (9:16) | 8–10 Mbps | MP4 (H.264) | Vertical format optimized |
| YouTube | 1920×1080 (16:9) | 10–12 Mbps | MP4 | HD quality recommended |
| 1080×1080 (1:1) | 6–8 Mbps | MP4 | Square format for feed | |
| 1280×720 | 4–6 Mbps | MP4 | Compressed for sharing | |
| Professional | 4K (3840×2160) | 20–30 Mbps | ProRes/MOV | Maximum quality |
Pro Tip: Always export at a higher bitrate than your target platform requires, then compress if needed. This gives you flexibility for different uses while maintaining quality.
Tip 8: Work with Blending Modes — Mix Colors Like Magic
- Overlay: add punch; great for titles and highlights.
- Screen: lighten for glow effects and light overlays.
- Multiply: darken for shadows and vignettes.
- Soft Light: subtle contrast enhancement for portraits.
- Color Dodge: intense highlights and light effects.
Pro Tip: Start with Overlay and Screen modes as they're most forgiving. Use Multiply sparingly as it can quickly make your content too dark.
Tip 9: Leverage Presets — Save Time & Stay Consistent
Save styled layers and animations as presets to repeat your brand look. Share advanced styles via XML imports and QR codes.
Pro Tip: Create a library of presets for different project types (social media, corporate, creative). This ensures brand consistency and speeds up your workflow significantly.
Presets are your secret weapon for maintaining consistency across projects while dramatically reducing production time. By building a comprehensive preset library, you can focus on creativity rather than recreating the same effects repeatedly.
Tip 10: Practice Every Day — The Secret to Getting Better
Create a 10‑second clip daily. Try one new tool each time (keyframes, blends, vectors). Save projects to track progress.
Pro Tip: Set aside 15 minutes daily for practice. Focus on one technique per session rather than trying to master everything at once. Consistency beats intensity every time.
Skill development in video editing is cumulative - each small improvement builds upon the previous one. By practicing regularly, you'll develop muscle memory for common tasks and gain confidence in trying new techniques.
Ready to Level Up Your Video Editing Skills?
Download AlightMotion Premium today and start implementing these pro tips. Then explore our comprehensive guides on Presets, Text Animation, and Advanced Animation Techniques to speed up your workflow.
Frequently Asked Questions (FAQ)
The official app has a free tier with limits. Premium builds unlock features and remove watermarks. Always download from trusted sources.
Yes — AlightMotion supports Android and iOS. Features are similar across platforms.
Reduce preview resolution, close background apps, and simplify heavy stacks. Export at full quality when done.
See our detailed guide: How to Add Text in AlightMotion.
Keep learning: Import XML Projects • Use Presets • Use QR Codes. Official info: alightmotion.com.
📚 Educational Disclaimer
This guide is for educational purposes only. We are not affiliated with Alight Motion or its developers. This tutorial demonstrates professional video editing techniques that can be applied to various mobile video editing software. For official Alight Motion support and updates, visit alightmotion.com.
Related tutorials: Advanced Animation Techniques, How to Use Alight Motion Fonts, Time Remap Velocity Preset